


Step-by-Step Guide to Restoring Your Stovetop's Shine
Posted on 16/09/2025
Step-by-Step Guide to Restoring Your Stovetop's Shine
Whether you love to cook or simply use your stovetop for quick meals, a clean stove surface is vital to maintaining both the appearance and functionality of your kitchen. Over time, grease, grime, food splatters, and burnt residues can accumulate, leaving your stovetop looking dull and unappealing. If you're eager to revive the sparkle and keep your cooking station in top form, this step-by-step guide to restoring your stovetop's shine will arm you with essential tips, cleaning techniques, and maintenance strategies for every type of stovetop surface.
Why Restoring Your Stovetop's Shine Matters
A gleaming stovetop isn't just a point of pride; it also impacts your kitchen hygiene and cooking experience. Restoring your stovetop ensures:
- Bacteria and germs can't linger on sticky, dirty surfaces
- Burnt residues do not alter the taste of your meals
- The lifespan of your cooktop increases as you prevent rust, staining, and corrosion
- Your kitchen always looks inviting and tidy
Let's delve into a comprehensive stovetop restoration process--from choosing the right cleaning products to expert tricks for maintaining that showroom shine.
Understanding Your Stovetop Type
Different stovetops require customized approaches for cleaning and polishing. Before starting, identify your burner type:
- Gas Cooktops: Feature removable grates and burners prone to stubborn grease build-up.
- Electric Coil Stovetops: Have heating elements that can be lifted, exposing drip pans underneath.
- Glass and Ceramic Stovetops: Sleek, flat surfaces needing special care to avoid scratches and streaks.
- Induction Cooktops: Resemble glass stovetops, but often have touch-sensitive controls that demand gentle handling.
Knowing your stovetop type ensures you choose the safest and most effective cleaning strategy for profound results.
Restoring Your Stovetop: A Step-by-Step Cleaning Guide
Step 1: Safety First - Preparing Your Workspace
- Turn off all burners and ensure the stove is cool before starting.
- Unplug electric stovetops or cut gas supply if needed.
- Open nearby windows for ventilation, especially when using strong cleaners.
Never rush this step. Safety precautions prevent accidents and damage to your appliance.
Step 2: Remove Loose Parts and Debris
Take off removable items such as grates, burner caps, knobs, and drip pans (if applicable). Lightly tap grates over a trash can to dislodge crumbs or loose debris.
- Soak grates, burners, and drip pans in warm, soapy water for 15-20 minutes.
- Wipe knobs with a damp microfiber cloth.
This preliminary step makes the deep cleaning process much easier.
Step 3: Degrease and Clean the Surface
Tackle the stubborn grease and grime covering your stovetop:
- Use a kitchen degreaser or a homemade solution (mix equal parts white vinegar and baking soda for a natural degreaser).
- Apply the cleaner directly onto stubborn spots and let it sit for 5-10 minutes to break down the buildup.
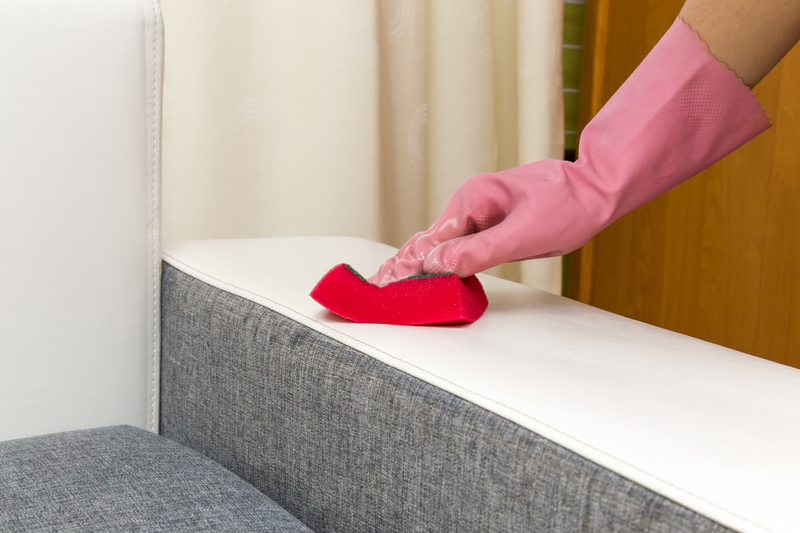
- Gently scrub with a non-abrasive sponge or cloth, focusing on stained or sticky areas.
Avoid steel wool or harsh scouring pads, especially on glass and ceramic stovetops, to prevent scratching the finish.
Step 4: Handle Burnt-on Residue
If you encounter burnt food spills or blackened spots, try this:
- Sprinkle baking soda onto the affected areas.
- Spray with water or vinegar to create a fizzy reaction.
- Let it fizz and sit for 15 minutes.
- Use a plastic scraper (or old credit card) to gently lift burnt residue without damaging the surface.
Rinse the area with a clean, damp cloth afterward for a residue-free result.
Step 5: Deep Clean Grates, Burners, and Drip Pans
- Scrub these parts with a non-abrasive brush or sponge after their soak.
- For persistent stains, make a paste with baking soda and water; apply, let sit, and scrub again.
- Rinse thoroughly and dry all parts with a clean towel before reassembling.
Restoring your grates and burners is vital for both function and appearance.
Step 6: Restore Shine to Glass, Ceramic, and Stainless Steel Stovetops
For glass or ceramic stovetops:
- Use a specialized glass cooktop cleaner gel, which polishes without scratching.
- Apply with a soft cloth in a circular motion.
- Buff with a dry, microfiber towel for a streak-free finish.
For stainless steel cooktops:
- Wipe in the direction of the grain for the best shine.
- Use a mixture of mild dish soap and water, or a stainless steel polish.
- Buff with a microfibre cloth to eliminate water spots and fingerprints.
Step 7: Final Touches - Reassemble and Polish
- Allow all parts to dry completely before reassembling your stovetop.
- Polish the stove knobs and exterior edges for an overall sleek look.
You can also wipe a tiny amount of olive oil or coconut oil on a soft cloth and gently buff the surface to add a long-lasting luster to metal and glass stovetops.
Special Care for Different Stovetop Materials
Glass and Ceramic Stovetops
Cleaning glass and ceramic stovetops regularly prevents baked-on stains that require heavy-duty scraping. Avoid dropping pots and pans or dragging cookware across the surface to prevent scratches and chips. Always use products recommended by the manufacturer.
Stainless Steel Stovetops
For a fingerprint-resistant finish, use a dedicated stainless steel spray or polish. Never use bleach or ammonia-based cleaners, which can cause discoloration.
Gas Stovetops and Grates
Soak grates weekly and avoid letting moisture sit on burners, as rust can develop. Clean the gas ports with a toothpick if they appear clogged--never enlarge them with metal objects.
Best Products for Restoring Your Stovetop's Shine
The market offers a variety of powerful cleaning products and polishes for every type of stove. Consider these well-reviewed options:
- Bar Keepers Friend: Works wonders on stainless steel and ceramic surfaces.
- Weiman Cooktop Cleaner: Popular for glass and ceramic stovetops, leaving a brilliant shine.
- Easy-Off Stove Top Cleaner: Great for tackling heavy-duty grease and burnt-on residues.
- White vinegar and baking soda: An effective DIY alternative for eco-friendly and affordable cleaning.
- Microfiber cloths: Crucial for wiping and buffing without scratching or streaking surfaces.
Maintenance Tips: Keep Your Stovetop Sparkling
Once you've restored your stovetop's shine, regular maintenance ensures it stays looking pristine:
- Wipe spills and splatters immediately--fresh messes are always easier to clean.
- Do a weekly light clean with a gentle cleaner and microfiber cloth, even if it looks clean.
- Deep clean monthly--remove grates and burners for a more thorough wash.
- Avoid abrasive tools like steel wool or rough brushes that can harm delicate finishes.
- Apply a protective coating (such as a ceramic or stainless steel polish) once a month.
Frequently Asked Questions About Stovetop Restoration
How often should I deep-clean my stovetop?
For heavy daily use, deep-clean your stovetop--removing grates and scrubbing surfaces--once a week. If you cook less often, a thorough monthly clean paired with daily spot-cleans is sufficient.
Can I use bleach or harsh chemicals on my cooktop?
Generally, avoid bleach as it can corrode metal or discolor stainless steel. Always choose cleaners designed for your stovetop material to prevent damage and maintain shine.
What should I do if my glass cooktop gets scratched?
Light surface scratches may be minimized with a glass-top polish, but deep scratches are permanent. Always use soft cloths and avoid dragging pots to keep the surface looking flawless.
Are natural cleaning solutions effective?
Yes! Vinegar, baking soda, and even lemon juice can cut through grease and leave your stovetop gleaming without harsh chemicals. They're safe, eco-friendly, and often just as effective as commercial products.
How do I remove burnt sugar or stubborn caramel spills?
Sprinkle baking soda on the spill, spray with vinegar, and let sit to loosen the burnt sugar. Gently use a plastic scraper, then wipe away residue with a damp cloth. Repeat until spotless.
Conclusion: Enjoy Your Showroom-Ready Stovetop
Having a shiny, spotless stovetop isn't just about appearances--it's about efficiency, hygiene, and renewed inspiration in your kitchen. By following this comprehensive, step-by-step guide to restoring your stovetop's shine, you can tackle any level of mess, from light stains to burnt-on disasters. Consistent care and the right tools make all the difference for every type of cooktop.
Take pride in your beautifully restored stove, and enjoy a brighter, cleaner kitchen every day. For more expert tips and in-depth cleaning hacks, bookmark this guide and revisit before your next stove cleanup!